 Well-known PCB supplier
+86 13603063656

Introduction
When it comes to designing and developing electronic circuits, a PCB prototyping board plays a critical role. A prototyping board allows designers to test and modify their circuit designs without committing to a permanent production run. This article will provide a deep dive into what PCB prototyping boards are, how they work, and why they’re indispensable in the design process.

PCB Prototyping Board
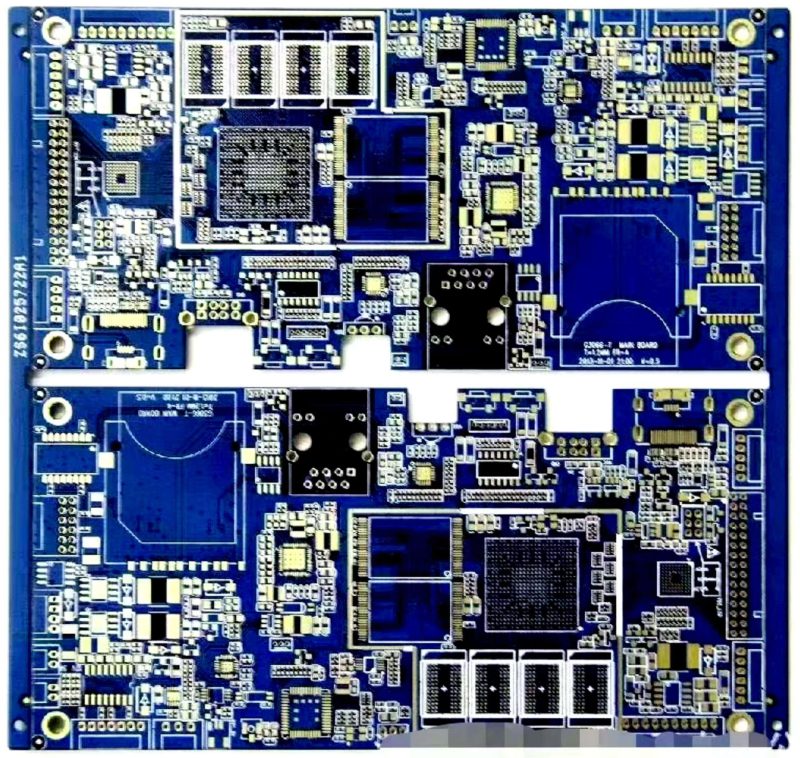
PCB prototyping boards, often referred to as test boards, serve as temporary platforms to build and test electrical circuits. They are essential tools for engineers and designers in the prototyping phase of product development. These boards allow for easy connections and modifications to the circuit as needed during the testing process. In a typical PCB prototyping board, components are placed and connected by either soldering or using jumper wires. The primary purpose of these boards is to simulate the final design, allowing for verification and troubleshooting.
But here’s the kicker – the beauty of prototyping boards is that they offer flexibility. Unlike production boards, which are fixed and difficult to modify, prototyping boards let you alter the design freely without incurring the cost of manufacturing a new set of PCBs.
PCB prototyping boards come in different varieties, but the most common ones are breadboards and perfboards. A breadboard is the simplest form, with a series of interconnected holes where components and wires can be inserted without soldering. A perfboard, on the other hand, uses a grid of holes and copper pads for soldering components, making it more permanent than a breadboard.
The way they work is simple: components are connected via metal contacts or soldered into the pre-established holes and pads, forming an electrical pathway for current to flow. Once the components are placed, the circuit is tested, and if issues arise, it’s easy to make adjustments. Whether you’re testing a small circuit or a larger design, prototyping boards offer unparalleled convenience and flexibility in the development process.
Ready for the good part? The process of using PCB prototyping boards is one of trial and error. Engineers can test their designs, troubleshoot, and improve the circuit with minimal cost and effort before committing to manufacturing the actual PCB.
The importance of PCB prototyping boards lies in their ability to allow for rapid testing and iteration during the circuit design process. Engineers often need to test multiple configurations before finalizing a design for mass production. Without a prototyping board, they would need to fabricate each new design, which would be costly and time-consuming.
For example, let’s say a designer is working on a new mobile phone charging circuit. They would need to test various components and layouts to ensure the circuit works as expected. By using a PCB prototyping board, they can quickly make changes to the design, test different configurations, and debug the system.
This fast iteration process ensures that the final product will be both functional and efficient. In addition, prototyping boards provide a cost-effective way to test and validate designs before mass production, saving both time and money in the long run.
There are several key features that make a PCB prototyping board useful in the design process:
Flexibility: PCB prototyping boards allow for quick modifications and experimentation. Engineers can test different components and configurations, ensuring that the final design meets all specifications.
Ease of Use: Prototyping boards are designed to be user-friendly, allowing engineers to work with minimal tools and effort.
Reusability: A well-maintained PCB prototyping board can be used multiple times for different projects, reducing the cost of prototyping.
Versatility: Different types of prototyping boards are available to suit different needs, from breadboards for beginners to perfboards for more advanced designs.
Testing Compatibility: These boards allow for thorough testing of a circuit, ensuring that it works as expected before the final design is committed to production.
But here’s the kicker – the real advantage of using PCB prototyping boards is the ability to detect issues early in the design process. If there’s a problem, it can be identified and corrected before moving to the next stage.
Choosing the right PCB prototyping board depends on several factors, including the complexity of the circuit and the tools available. The two most common types of prototyping boards are:
Breadboards: These are ideal for quick and easy circuit prototypes. They are best for low-frequency circuits and when you need to frequently adjust or modify the design.
Perfboards: These are better suited for permanent prototypes where components will be soldered. Perfboards are ideal for circuits that need to be stable and tested for long periods.
The board you choose should depend on your specific project needs. If you’re working with a simple design that doesn’t require soldering, a breadboard is likely the best option. However, if you need a more permanent solution for a higher-frequency circuit, a perfboard will be the better choice.
There are several types of PCB prototyping boards to choose from:
Breadboards: Ideal for initial circuit prototyping. They are reusable, and components can be easily inserted and removed.
Perfboards: Designed for soldering components. More permanent than breadboards, they allow for a more stable prototype.
Solderable PCBs: These offer the advantage of being both reusable and offering more robust designs, suitable for final testing.
Flexible Prototyping Boards: These boards are designed for flexible circuits that require bending or folding.
When choosing a PCB prototyping board, consider factors like the complexity of your circuit and the need for permanence or reusability. Each type of board has its specific use case, so it’s essential to select the right one for your needs.
PCB prototyping boards are made from several different materials, each with its unique properties and advantages. The most common materials used include:
FR4: A fiberglass-based material commonly used for both prototyping and final production. It’s durable and provides excellent electrical insulation.
CEM1 and CEM3: Composite materials that are also commonly used for PCB prototyping boards. These are cost-effective alternatives to FR4.
Paper Phenolic: A more affordable option that is often used in low-cost prototypes.
The material you choose should align with the type of circuit you’re designing and the environment in which it will be used. For most general-purpose PCB prototyping, FR4 is the go-to choice.
Soldering components onto a PCB prototyping board requires a few basic tools:
Soldering Iron: A fine-tipped iron works best for precision soldering.
Soldering Wire: Lead-free solder is a good choice for most projects.
Soldering Flux: This helps the solder adhere to the component and PCB pads more effectively.
To solder components, insert the components into the board’s holes and use the soldering iron to melt the solder wire onto the connections. Be careful not to overheat the components, as this can cause damage.
Testing a circuit on a PCB prototyping board involves several steps:
Power Testing: Ensure the circuit receives the correct voltage and current.
Signal Testing: Use oscilloscopes and multimeters to check the functionality of the circuit.
Continuity Testing: Check for any short circuits or open connections.
By testing your circuit, you can catch any errors early and correct them before proceeding to mass production.
PCB prototyping boards play an essential role in the electronics industry, helping engineers develop and test new products quickly and efficiently. From consumer electronics to medical devices, prototyping boards are used at various stages of the design process.
FAQ Section
Q1: What is a PCB-prototyping board?
A PCB prototyping board is a temporary platform for assembling and testing electronic circuits before committing to mass production.
Q2: How does a PCB prototyping board work?
The components are inserted into the board’s holes, connected by wires or solder, and tested to verify the functionality of the circuit.
Q3: What materials are used for PCB prototyping boards?
Common materials include FR4, CEM1, CEM3, and paper phenolic, each with varying properties suited for different applications.
Q4: How do you choose the right PCB prototyping board?
Your choice depends on the complexity of the design, the required permanence of the prototype, and the tools available.
Q5: How are PCB prototyping boards used in the electronics industry?
PCB prototyping boards are used in product design to quickly test and validate circuits before finalizing designs for production.
Connect to a Jerico Multilayer PCB engineer to support your project!
Request A Quote